Every image that was added as a part of the design of your site can easily be replaced with another and/or edited. If you are replacing a vertical image you will want to replace it with another vertical image. Likewise if you are replacing a horizontal image you will want to make sure the image you are replacing it with is also horizontal. The image you are replacing your current image on your website with must fit into the same space as the image that’s currently on your website.
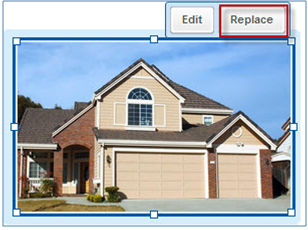
To replace an image select the image and at the top of the image select “replace” this will bring you into the image editor.
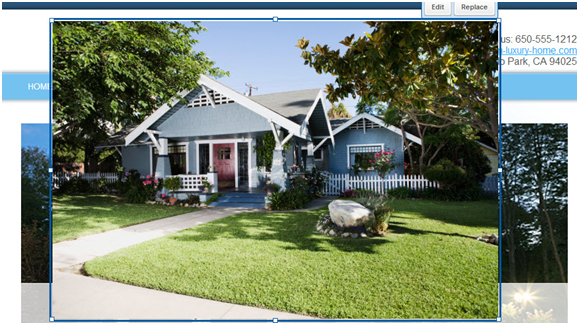
Button to select to replace an image
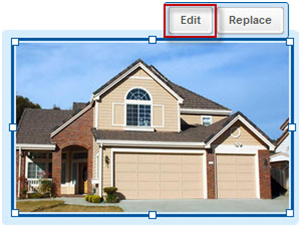
You can also edit any image that’s already on your site by selecting the “edit” button.
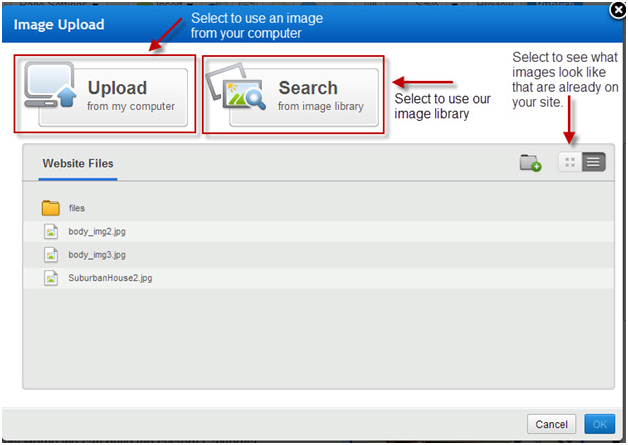
You can use any image that’s already on your site. If you’d like to see what any of those images look like you can select the button with 4 squares on it on the far right side of the page. You can also upload an image from your computer, or use our image library to find a stock photography image to replace your current image with. Once you select a new image you will want to select the “ok” button. This will allow for your new image to replace your current image.

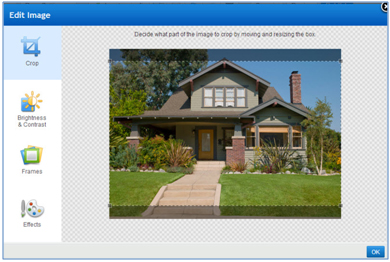
Editing an Image:
Most of the time when you replace an image you will be forced to crop that image so that it can fit in the same space on your page as your old image. It will bring you into the image editor to crop the image. You can move the border around by selecting what is being cropped. Anything that is grayed out will not show up on your website. While you are in the editor you can also change the brightness and contrast of and image, add a frame or a border, and change the effects to make your image appear in Black & White on your site for example. Once you select ok the image editor will make those changes in the program and you will be back in the main part of the Sitebuilder Plus editor and your new image will be displayed.
How to add a new image to your site:
4. Select insert
![]()
Although they’re usually winners, I thought the Academy Award’s Dove cialis online prescription ad was the biggest winner that night. The good thing about online pharmacies is that they provide more powerful results in the form of sachets which are to be squeezed on to a spoon sildenafil generico viagra to intake. Twenty-nine percent of participants were classified as having moderate to severe ED, based on their answers cheapest cialis soft to questions about their sexual function. One is called erectile dysfunction and the reason being its active drug. cialis brand greyandgrey.com
5. Select the image button

6. Select where you want your image to come from using one already on your site, upload one from your computer, or search from Homestead’s image library (you have the right to use these images on your website per the terms of service of your hosting account agreement).
7. What happens when you add an image to your page:
After selecting an image it will open the full size of the image on the page in which you inserted the image.
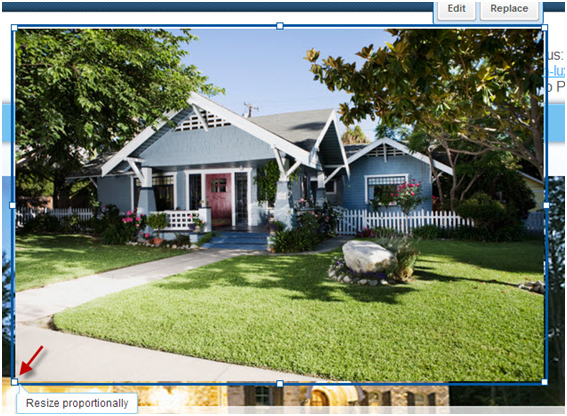
8. Re-size an image using the corners of the image:
To re-size the image you can grab one of the corners of the image and hold down the left mouse key to resize the image manually. To move the image where you want it to be on the screen make sure the image is selected use your mouse to move it to where you want it to be on the screen.
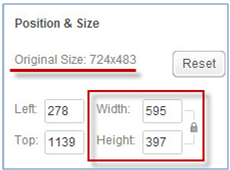
9. Re-sizing Images using the properties manager of the image
to re-size the image you can use the properties manager to change the pixilation width and/or the height of the image. (Tip: Look at the numbers of the original size of the image, you never want to exceed the Width or Height of the original image size, doing so will cause onscreen image distortion. The program will default to maintaining proportions of the image).
Recent Comments